Monday, June 14, 2010

Homemade Croutons


Homemade croutons are SUPER easy to fix!

Cut up bread slices to the size you want. Grab your Italian seasoning, salt, and olive oil to season them with. In a small bowl, combine  1 teaspoon salt and  2 tablespoons of Italian seasoning together. Mix about 1/4 cup of olive oil with the seasoning and then pour over your chopped up bread cubes.

Place in a 350 degree oven in a single layer on a baking pan and bake until browned on each side (about 15 minutes).

Serve with your favorite salad.

Kentucky: Caramel Apple Cheesecake


Kentucky is know for apples and caramel--or at least they are in my book! So for this challenge, I am entering my Caramel Apple Cheesecake into the Cooking Across America Contest! You can help me out by voting for my recipe in the comments section of the blog post, which you can find HERE.

Here is the recipe:


Ingredients

1 (21-ounce) can apple pie filling

1 (9-inch) graham cracker crust

2 (8-ounce) packages cream cheese, at room temperature

1/2 cup sugar

1/4 teaspoon vanilla extract

2 eggs

1/4 cup caramel topping

Directions

Preheat the oven to 350 degrees F.

Reserve 3/4 cup of the apple filling; set aside. Spoon the remaining filling into the crust. Beat together the cream cheese, sugar, and vanilla until smooth. Add the eggs and mix well. Pour this over the pie filling.

Bake for 30 to 35 minutes, or until the center of the cake is set. Cool to room temperature.

Mix the reserved pie filling and caramel topping in a small saucepan and heat for about 1 minute, or until spreadable. Spoon the apple-caramel mixture over the top of the cheesecake and spread evenly. Refrigerate the cake until ready to serve.

Now, go vote for me people!!! I love you!!!

Friday, June 11, 2010

PW's Ranch Style Chicken

Y'all know how much I love The Pioneer Woman. If you don't let me just squeal it from the rooftops of this blog. . . . . . . . .
I LOVE THE PIONEER WOMAN!!!!!

So now that you know about my crazy obsession with that woman's cooking technique, I will tell you about the latest recipe of hers I made, Ranch Style Chicken.

You will most definitely want to check this recipe out. Who could go wrong with bacon, cheese, and chicken--my three favorite food groups?

Go check it out and in the meantime, you can see how mine turned out!

Thursday, June 10, 2010

Homemade Fondant

As promised, here is my little tutorial on homemade fondant!

Here is what you need to start with:
  • 1 bag of mini marshmallows
  • 3 tablespoons of water
  • 2 lbs of powdered sugar
  • oil for oiling things up

The first thing you need to do is grease a large glass bowl with oil. Don't overdo it, just enough to lightly grease the inside.

Add the marshmallows and water into the bowl. Microwave on high at 20 second intervals, stirring after each one until marshmallows are all melted.

Pour all  of the powdered sugar into the bowl (reserve 1/4 cup for later). Mix together until you get something that looks like this:


Now that you have this little ball of fun, take some of the reserved powdered sugar and sugar up your workspace. Knead and knead and knead until it becomes a VERY smooth and pliable ball (it took me and Kayla about 15-20 minutes).

Once you get the ball all kneaded and smooth,

like I said, it takes a while. . . .kneading, kneading, kneading. . . . . .

You can divide it into how many colors you want. We were doing two--purple and white. So here is the low down on how to color this fondant:


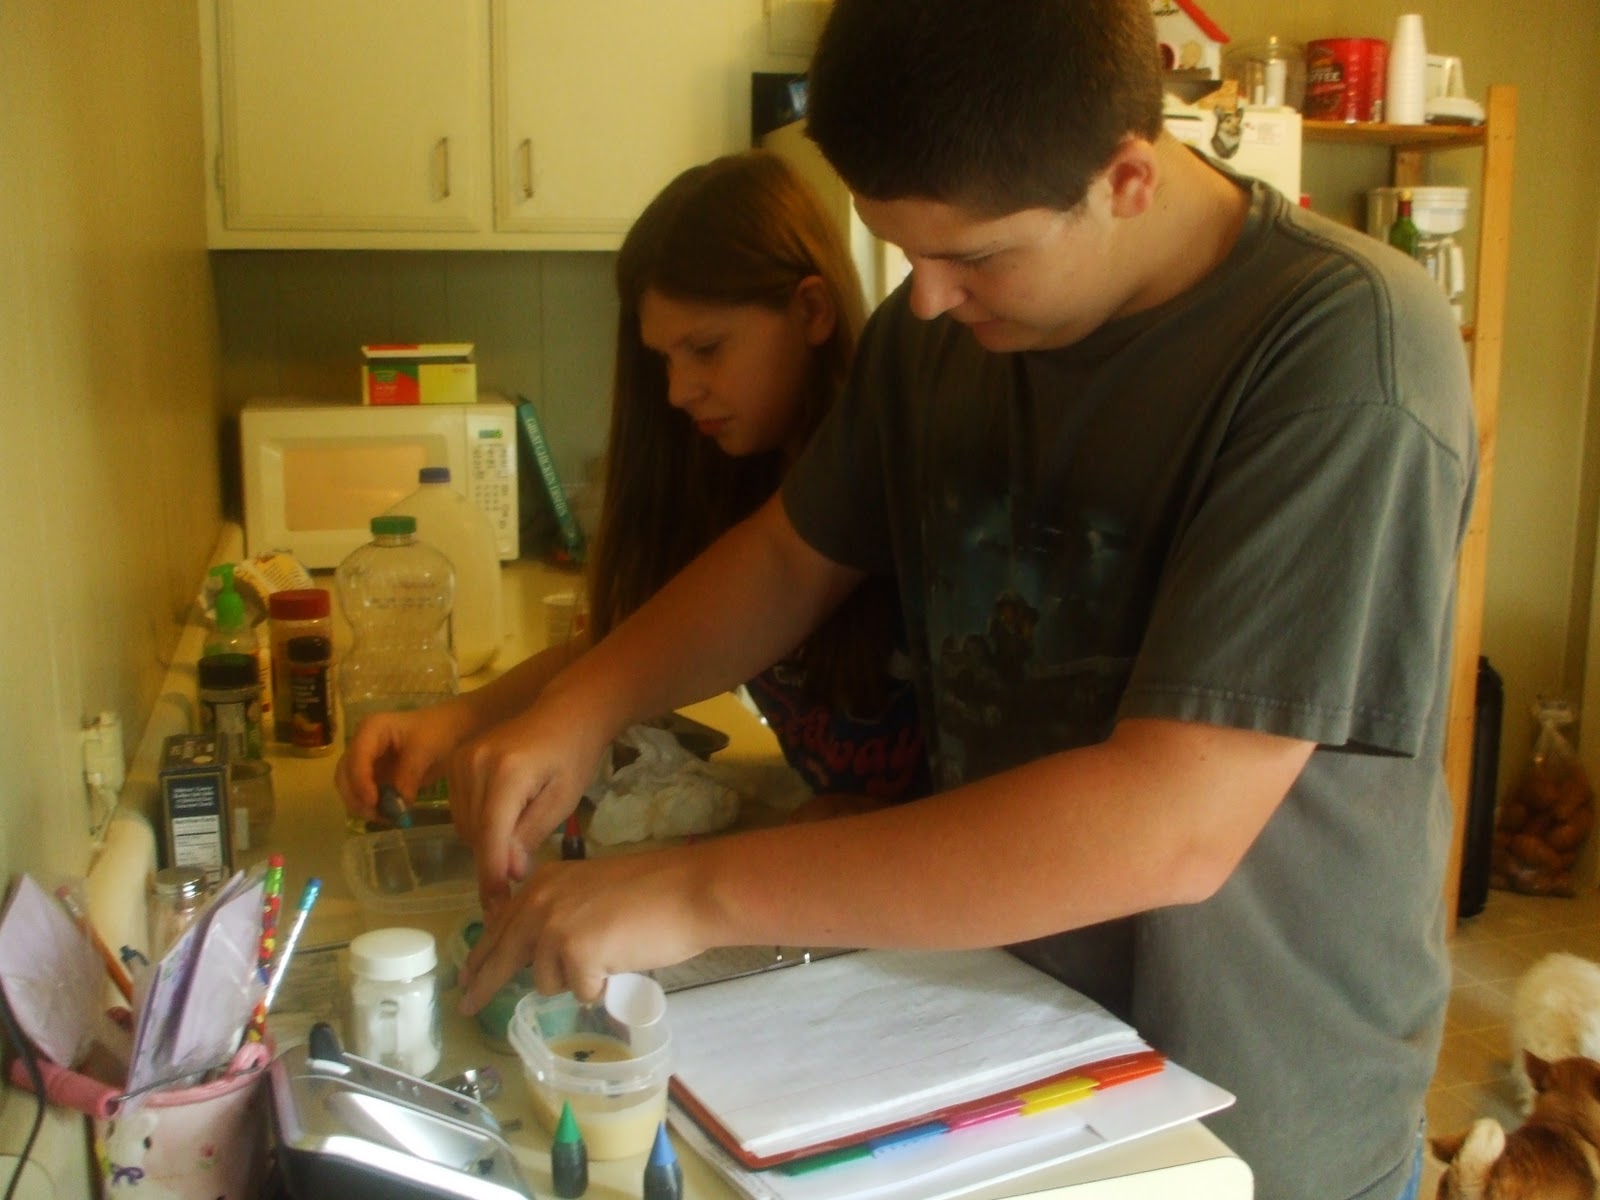
You have to use CAKE DECORATING GEL (not food coloring). If you do not use the right thing, it will not turn out. Put some of the gel on a toothpick and insert the colors into the fondant. Now the fun part happens. You get to knead AGAIN--but this time you are working the colors into the fondant. It takes a little patience for this part.


Notice the gloves? If you want to keep your hands from getting the gel stained on them, use gloves!

After you get done coloring the fondant, grease it up and then wrap it in plastic wrap and set it on the counter overnight.


The next day, you get to roll the fondant out. At first touch it will feel really rock hard. Remove the fondant from the wrap. Put down a piece of wax paper as big as you are going to roll your fondant. Get your rolling pin and start rolling (apply pressure).


You will have to roll and roll and roll and roll until you get it to about an 1/8" thick. You should not have any problem with it sticking, but if you do, simply oil the surface and then roll it out.

When you are done rolling it out, you are now ready to put it on your cake. Before you do though, you need to put a very thin layer of icing on your cake so that the fondant will stick to it.


Now, very gently apply your fondant to the cake. It should be lain over as gently as possible (this is where the wax paper comes in handy).


Cut away any excess and start shaping around your cake. Use oil and your fingers and palms to smooth away any wrinkles that might appear.


Once you get done cutting away the excess and getting the icing even with the cake, it should look something like this:


Now you can have fun decorating it all up for who ever.


Didn't she do a great job? The majority of the work was completed by Kayla!

Wednesday, June 9, 2010

Two Brothers Chocolate Gobs (aka Whoopie Pie)


I love Paula Deen! Last year, she made a dessert on her show that had me foaming at the mouth! These little dudes are SO good. They don't really take that much time to create either--and it makes a TON!


Don't they just look mouth watering? I know. . . I amaze myself sometimes!

Ingredients


Cookie:


  • 2 cups sugar
  • 1/2 cup vegetable shortening
  • 2 eggs
  • 1 cup buttermilk
  • 1 cup boiling water
  • 1 teaspoon vanilla extract
  • 4 cups all-purpose flour
  • 1/2 teaspoon baking powder
  • 2 teaspoons baking soda
  • 1/2 cup cocoa

Filling:


  • 5 tablespoons all-purpose flour
  • 1 cup milk
  • 1 cup sugar
  • 1/2 cup butter, softened
  • 1/2 cup vegetable shortening
  • 1 teaspoon vanilla extract
  • Maraschino cherries, chopped
  • Red food coloring


Directions


Preheat oven to 425 degrees F.

Cookie: In a large mixing bowl, cream together the sugar and shortening until fluffy. Add eggs and continue to beat. In a separate bowl, stir together buttermilk, boiling water, vanilla, and blend this into the creamed mixture at low speed.

Sift together flour, baking powder, baking soda, and cocoa. Add to mixture 1 cup at a time, blending well at low speed. Batter will be very thin but do not worry. Drop by teaspoons onto ungreased cookie sheets. Bake for 5 minutes. Allow to cool and transfer to waxed paper.

To make the filling: Place flour in a saucepan and slowly add milk, stirring until smooth. Set over medium heat and cook, stirring until very thick. Mixture should become as thick as solid vegetable shortening. Remove from heat and allow to cool completely.

In a medium bowl, cream together sugar, butter, shortening, and vanilla, using a handheld electric mixer. Add the cooled flour mixture and whip until fluffy. Add chopped maraschino cherries and a few drops of red food coloring until desired color is reached.

Spread filling onto bottom side of cookie and top with another cookie to make a sandwich. Wrap individually in plastic wrap and store in refrigerator.

Monday, June 7, 2010

Lessons Learned From the Waffle Maker

I am so excited about my waffle maker that I found! I got it at the flea market for only $4.00 and it has been the best purchase so far.It's the old timer kind with the old but good chord that has the on an off switch built into it and a heat indicator on the top.

The other morning I pulled it out for its first official use in the Sikora household. I did NOT pay attention to directions and this was what my first attempt at waffles looked like:


But then, I decided to heed the advice of the directions and I began to FINALLY get waffles that were beginning to actually look like waffles!


So basically, FOLLOW directions when it comes to making homemade waffles! Here's the recipe. Hope you enjoy!

Ingredients


  • 2 eggs
  • 2 cups all-purpose flour
  • 1 3/4 cups milk
  • 1/2 cup vegetable oil
  • 1 tablespoon white sugar
  • 4 teaspoons baking powder
  • 1/4 teaspoon salt
  • 1/2 teaspoon vanilla extract


Directions


  1. Preheat waffle iron. Beat eggs in large bowl with hand beater until fluffy. Beat in flour, milk, vegetable oil, sugar, baking powder, salt and vanilla, just until smooth.
  2. Spray preheated waffle iron with non-stick cooking spray. Pour mix (1/2 cup at a time) onto hot waffle iron. Cook until golden brown. Serve hot.

This post is linked to Tempt My Tummy Tuesday and Tuesdays at the Table and Kitchen Tip Tuesday.

Sunday, June 6, 2010

Rainbow Cupcakes

Robert and Kayla got in the kitchen together the other day and made rainbow cupcakes.
Making rainbow cupcakes is very easy! NO...we did not use a cake from a box recipe. I found a wonderful website that had a white cake recipe and it is what I use as the base for all my cupcakes.
After you make the cupcake batter, simply divide it into different bowls based on the number of colors you want to use. Color them using food coloring, then drop different colors by teaspoons into the muffin pan. Don't mix them together. Just allow them to lay on top of each other. When they are done, they look like this:

Icing them is simple. No, I don't buy store bought icing often because I like the taste of homemade icing. It is simple to make as well. You need 1 box of powdered sugar and 1 stick of butter. Begin by mixing one cup of powdered sugar with the soft stick of butter. Cream together and keep adding powdered sugar until you get the results you are wanting ( I think it takes the whole box, but I cannot remember). Once you get it the consistency you want, color it and spread like frosting on cupcakes!

Cupcake recipe:
  • 3/4 cup softened margarine (1-1/2 sticks)
  • 1-1/2 cups sugar
  • 3 medium eggs
  • 2 teaspoons vanilla
  • 1 teaspoon salt
  • 3 teaspoons baking powder (1 tablespoon)
  • 3 cups flour
  • 1-1/4 cups milk
Get out a big bowl. Put the softened margarine (you can soften it in the microwave if you like) and sugar into the bowl. Using electric beaters, or a strong arm, cream the two items together until they are light and fluffy. Add all three eggs, the vanilla and salt. Beat again, until the eggs emulsify (mix up) the whole mess. Add the baking powder, flour and milk. Now is when the electric beaters come in handy, but it can be done with a spoon and determination. Beat everything together for a full 2 minutes on high speed, or a full five minutes with your spoon and your muscles. The mixture should begin to look light, smooth, creamy and good. Turn the batter into either 2 well oiled 9-inch layer cake pans, or an equally well oiled 9 by 13-inch rectangular pan. Place the cake(s) in a 350F oven. Bake the layers for 25 to 30 minutes or the large pan for 35 to 40 minutes. Cool completely before frosting.
This recipe also makes great cupcakes. Drop the batter into well oiled muffin tins. I like using an ice cream scooper for this … it gives me the perfect amount of batter for my standard sized muffin tins. Bake at 375F for about 20 minutes. Makes about 28 cup cakes.

(Reprinted from The Hillbilly Housewife website)